sales@procamlock.com
Installing pipe fittings isn’t exactly anyone’s idea of fun. But it’s even less exciting to come home to a sneaky drip that slowly turns into a little flood under your sink. We are pretty sure you don’t want that kind of mess. That’s why it’s so important to get your stainless steel pipe fittings right the first time.
The good news is that you totally can, and we’ve made it easy in this guide. We will show you how to properly install stainless steel pipe fittings to avoid leaks. You will find this helpful whether you’ve been tackling DIY jobs for years or if this is your first time holding a pipe wrench.
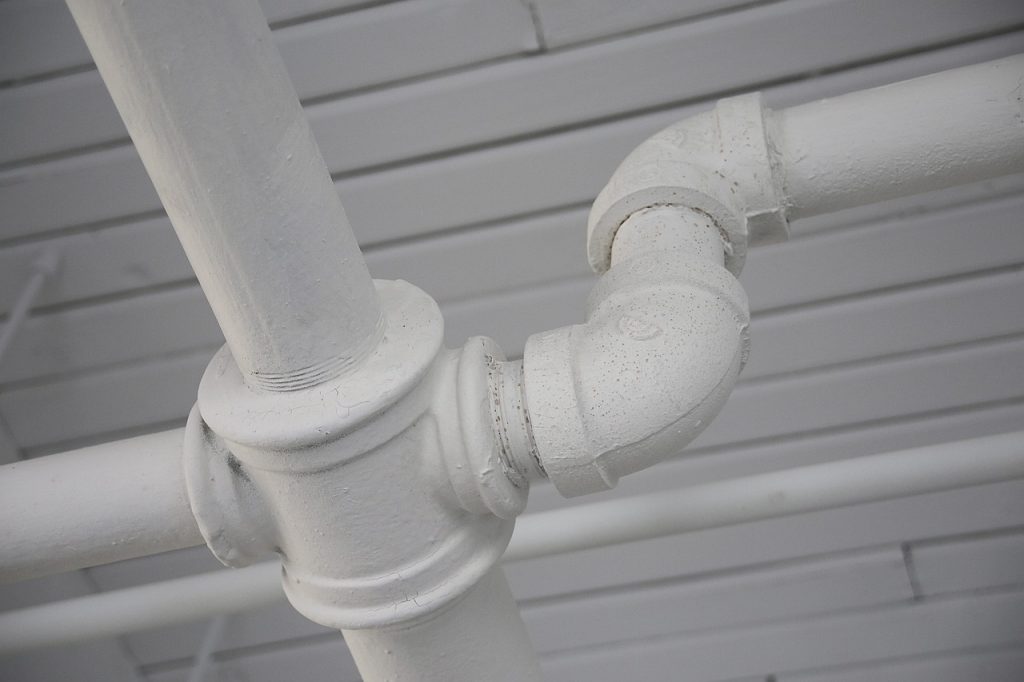
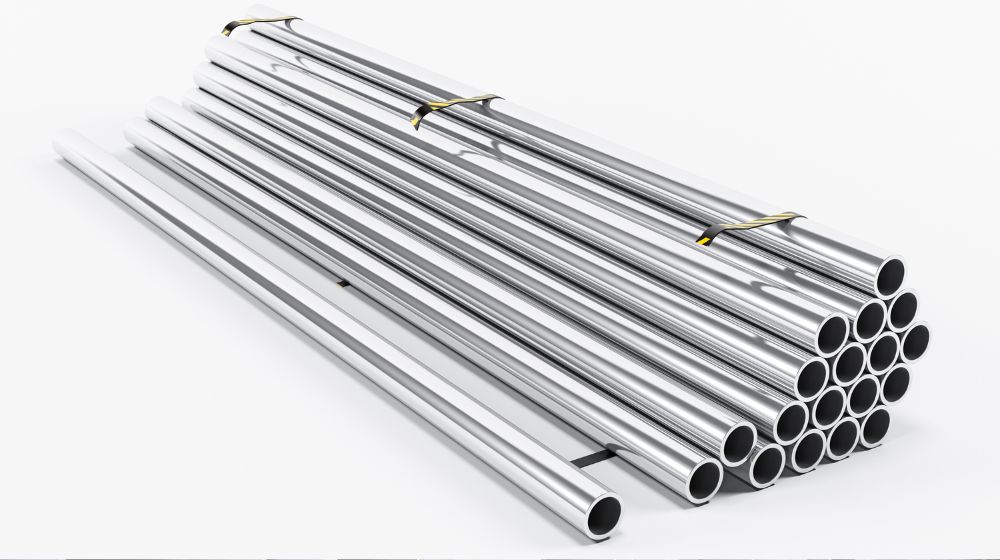
Image by LEEROY Agency from Pixabay
Before we get into the steps involved in the installation, let’s clear something up: not all pipe fittings are built the same. Some are more durable than others. But clearly, you want durable fittings, as those are the only kind of fittings that do the job perfectly.
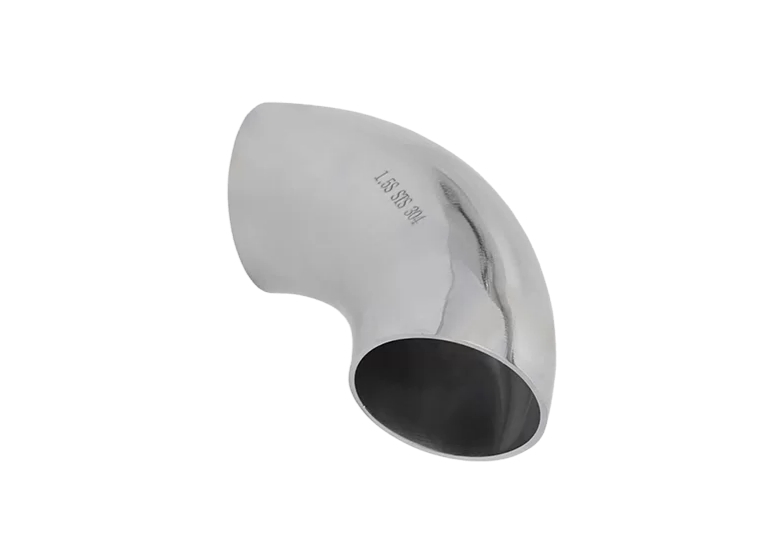
So, what exactly are stainless steel pipe fittings? Think of them as connectors that link your pipes together. They help change direction, control the flow, or connect pipes of different sizes.
And yes, stainless pipe fittings come in all kinds of shapes depending on what you need. Here are a few types you’ll probably come across:
Now, why go with stainless steel? It’s simply because it is strong, reliable, and long-lasting. It also handles high pressure and extreme temperatures, and it doesn’t rust easily. According to the British Stainless Steel Association, stainless steel can last over 50 years in many environments with minimal maintenance. Its durability is a key reason why it’s a top choice across board—from residential kitchen plumbing and food processing plants to marine vessels and industrial factories. Stainless steel is also 100% recyclable, making it an environmentally friendly choice.
If you don’t want to deal with leaks and surprise breakdowns along the way, you should choose stainless. It’s one of those choices that pay off for years.
Before you even think about tightening a fitting, let’s talk tools. Getting the right gear together before you start can save you a ton of hassle. If you skip this step, you might find yourself mid-project, holding a pipe with no clue how to finish the job.
Having the right tools ready means smoother work, fewer delays, and fewer chances of things going sideways.
Here’s what you’ll want in your toolkit:
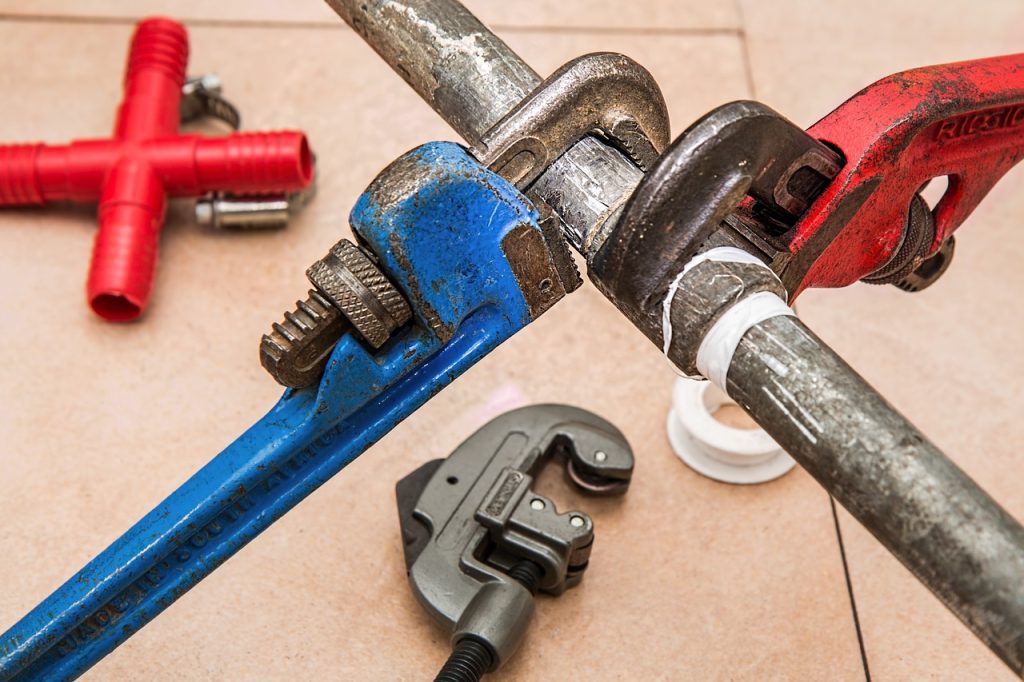
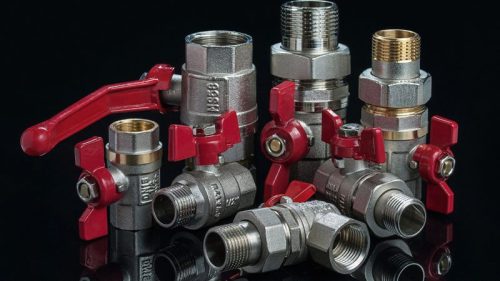
Image by Steve Buissinne from Pixabay
Now that you know what tools you will need for the job, let’s walk you through the installation process, one step at a time:
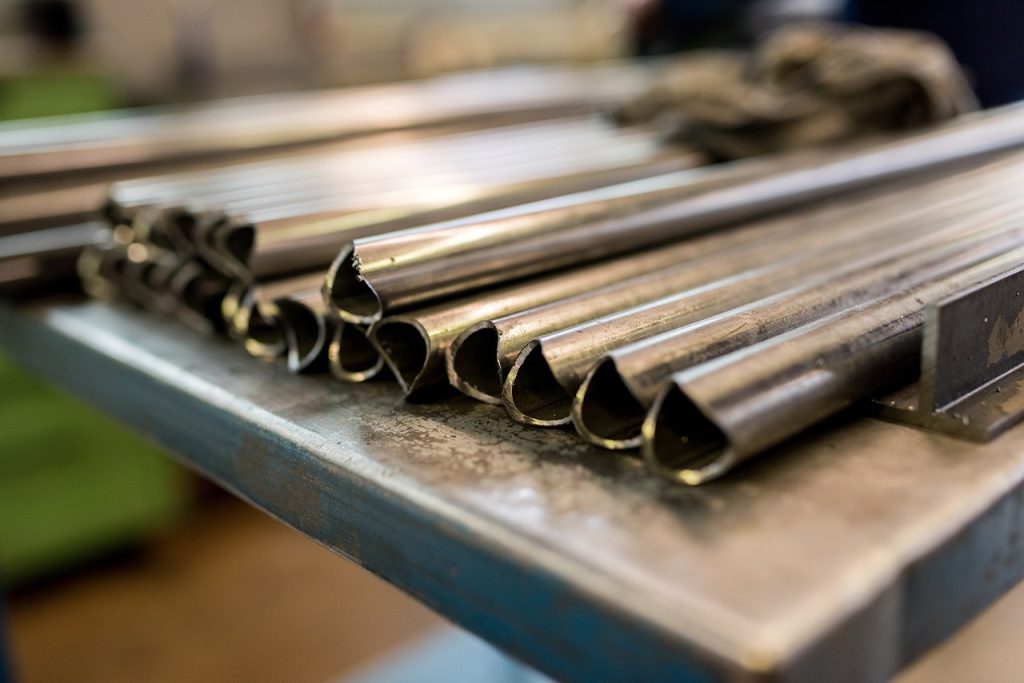
Image by Jonas Greuter from Pixabay
First, cut your pipe to the length you need. Use a pipe cutter or hacksaw – whatever you’re comfortable with. Try to make your cuts as straight and smooth as you can. There should not be jagged edges here.
Once cut, use a deburring tool or metal file to smooth out the inside and outside edges of the pipe. This will help your fittings seat properly and prevent them from getting scratched or damaged later.
Before anything goes together, take a minute to inspect your fittings. Check if there are any cracks, dents, or bits of metal stuck in the threads. You don’t want to ignore anything here because it can mess with your seal or strip the threads. If everything looks good, wipe them with a clean rag to get rid of dust or debris.
It’s now time to seal things up. If you’re using Teflon tape, wrap it around the male threads in a clockwise direction, just the same way you’ll be screwing the fitting in. Two or three wraps should do the trick.
And if you prefer using thread sealant (aka pipe dope), apply a thin, even layer over the threads. Both of them work well, just don’t use both at the same time.
Start by hand-tightening the fitting onto the pipe. Once it feels snug, grab your pipe wrench and give it about one to two full turns more. But don’t overdo it, because going too hard can damage the threads or even crack the fitting.
If you’ve got a torque wrench, that’s even better. It’ll help you tighten it just right without wondering if it’s tight enough.
Before you pack up and celebrate, it’s time to test your setup. Pressurize the system with water or air and check all your connections.
An easy trick is to mix a bit of dish soap and water, spray it on the joints, and watch for bubbles. If there are no bubbles, then you’re good. If you spot one, no stress. Just release the pressure, adjust the fitting, and test again.
Last but not least, tidy up the environment. Wipe down the fittings, clean off any excess sealant, and make sure the area’s neat.
It might seem like a small thing, but leaving your work area clean is a solid sign of someone who knows what they’re doing.
Before we wrap things up, let’s go over a few things to avoid when installing your fittings. This is because even if your installation looks great at first glance, the smallest mistake can come back to bite you. Considering we don’t want that, keep reading for mistakes to watch out for:
Over-tightening is a common mistake people make because they feel it makes it super secure, but that’s not the case. Instead, it can damage the threads, or worse, crack the fitting completely.
On the flip side, under-tightening is an open invitation for leaks.
So the best way to handle this is to tighten by hand first, then give it about one or two solid turns with a wrench. That’s usually enough; no need to wrestle it further. According to Nickel Institute, fittings should be tightened following the tightening and torque values specified by your stainless steel pipe fittings supplier.
This might sound like no big deal, but it’s something you will need to pay attention to. Connecting stainless steel to metals like galvanized steel or copper can cause galvanic corrosion. That’s a situation where one metal slowly eats away at the other.
You won’t see it right away. Just give it time, and you’ll be dealing with rust and leaks.
The British Stainless Steel Association warns against this as it is a slow but sure way to degrade your fittings over time.
So, before you start joining things together, always check for material compatibility.
It’s easy to forget, especially when you're in a rush. But dirty threads keep your fittings from sealing properly. So, before assembling, take a second to give the threads a quick wipe with a rag. It’s a tiny step that can save you a big headache later on.
Reusing old fittings can feel like a smart way to save money. But you will likely end up spending more in the long run. So, it’s better to let any fitting with scratches, dents, or threads that look a bit tired go.
Stainless steel fittings are strong, yes. But once they’re damaged, they’re not going to seal properly. And a small leak now could turn into a big repair job later.
Trying to get the job done with the wrong wrench usually ends with rounded fittings or a nice set of bruised knuckles.
A study on field installation errors found that improper tooling is a leading cause of early system failures. So, use a properly sized wrench to ensure you get a tight seal and a professional finish, without the bruises.
When it comes to pipe dope or thread sealant, a little goes a long way. Smothering the threads might seem like a good way to make sure it holds, but all that excess can clog the connection or squeeze out where it shouldn’t.
Also, you shouldn’t use a sealant that isn’t designed for stainless steel if you don’t want problems down the line. Typically, a PTFE-based sealant is recommended for stainless steel fittings because of its inertness and high resistance to pressure and temperature.
So, always check the label, and stick with what’s made for the material you’re working with. Your fittings will thank you, and you will save yourself from stress.
The job doesn’t end when you eventually get your stainless steel pipe fittings installed. You will still need to do well with maintenance to ensure the pipes keep performing at their best.
But don’t worry, we’re not talking about anything complicated. These are just a few simple habits that can make all the difference. Let’s look at them.
Take a minute once in a while to look things over. It could be once every two months, or after a big pressure change, but make sure it is regular. Check particularly for rust, stains, or anything that seems out of place. When you’re able to spot a problem early, you will be saving yourself a full-blown repair job later.
Not all leaks are dramatic. Sometimes, you won’t see anything, but you’ll feel it. So, run your hand along the joints and fittings. If you notice any dampness, that’s a sign that something’s not sealing right.
Pipes can shift slightly over time. This is especially true for a high-traffic area or an area under constant pressure. If you notice there is a loose part, gently use the wrench to tighten it.
Dust, dirt, and grease can build up and hide potential issues on your fittings. So, don’t handle it with levity. Occasionally, wipe your fittings to keep them clean. And if you’re in a greasy spot like a kitchen or workshop, add a mild degreaser to the cleaning. Only make sure it’s safe for stainless steel.
If your stainless fittings are connected to or near other metals, especially copper or galvanized steel, look out for weird discoloration or crusty buildup. That could be galvanic corrosion building up.
If there is something like that, make a quick replacement or use an insulating connector to fix the issue before it gets serious.
If you’re planning to take the fittings apart and reassemble them later, add a dab of anti-seize compound to the threads before you put everything back together. This will make disassembly way easier next time while also protecting the threads from wear and tear.
And that’s it! If you have read to this point, you already know that installing stainless pipe fittings isn’t nearly as tricky as it sounds. We have taken the time to explain the process step by step. Follow all that we have said, and you will have a solid and reliable fitting you can always count on.
Just gather the right tools and get to work using the tips from this guide. And if you ever need a refresher, feel free to come back anytime. Also, when sourcing for your materials, be sure to choose trusted stainless steel pipe fittings suppliers to avoid issues with performance or durability down the line. We recommend sourcing from a reputable manufacturer who offers certified, corrosion-resistant products built for performance.
Ready to get started? Explore our top-rated stainless steel fittings here.
Yes, you can use stainless fittings outdoors. Stainless holds up great in the elements, including rain, snow, sun, you name it. Just make sure the rest of your setup is weather-friendly too.
Yes, you can reuse stainless fittings, as long as they’re in good shape. If the threads are clean and undamaged, go for it. If they’re rusty or worn, it’s best to swap them out.
Both Teflon tape and liquid sealant work. Teflon tape is great for quick jobs, while liquid sealant (pipe dope) is better for high-pressure setups. Just don’t use both at the same time. Pick one and stick with it.
If you're straining to tighten the fittings or feel like you're wrestling the pipe, you're likely going overboard with tightening. Consider hand-tightening first, then give it one or two firm turns with a wrench.
Yes, stainless steel is food-grade and corrosion-resistant, making it safe for drinking water systems. Just make sure your fittings are rated for potable water use.

PROCAMLOCK offers durable, high-performance camlock fittings for easy use across industries like food processing, chemical, and construction.
Get Instant Quote